
Imagine this scenario you’re rushing out the door, ready to conquer the day, when suddenly your handbag’s zipper decides to give up on you.
Frustrating, right? But don’t worry; there’s no need to abandon your favorite accessory just yet.
Fixing a handbag zipper is easier than you might think, and we’re here to guide you through each step of the process.
In this comprehensive guide, we’ll walk you through the steps to fix a handbag zipper.
it’s separated, worn, or simply needs a replacement. By the end, you’ll be zipping up your handbag with confidence and ease and become a Master of Handbag Zipper Repair.
Zipper Structure of Handbags

Why Zipper Issues Happen
Zipper problems are all too common, especially in well-loved handbags. From everyday wear and tear to occasional rough handling, zippers can suffer from various issues over time. Understanding why these problems occur can help you prevent them in the future.
Wear and Tear
With constant use, zippers can wear down. This is especially true for metal zippers, which might lose their alignment over time.
Dirt and Debris
Accumulated dirt can make it difficult for zippers to function smoothly. Regular cleaning can prevent this problem.
Improper Handling
Yanking on a zipper too hard or forcing it into place can easily cause damage. Proper handling ensures longevity.
Tools You’ll Need
Before jumping into the repair process, gather these essential tools:
Having these tools on hand will make the repair process straightforward and efficient.
Fixing a Separated Zipper
If your zipper has split from the track, don’t worry. Follow these steps to get it back on track.
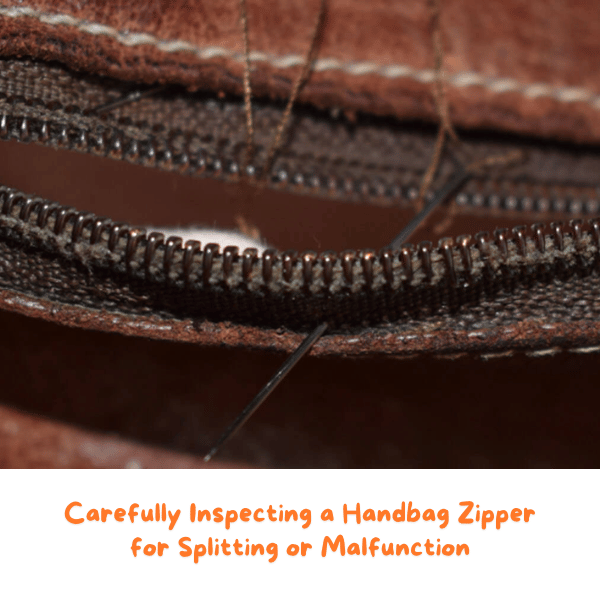
Step 1: Assess the Damage
First, take a good look at the zipper and determine where it has separated. Understanding the extent of the damage helps you plan the next steps effectively.
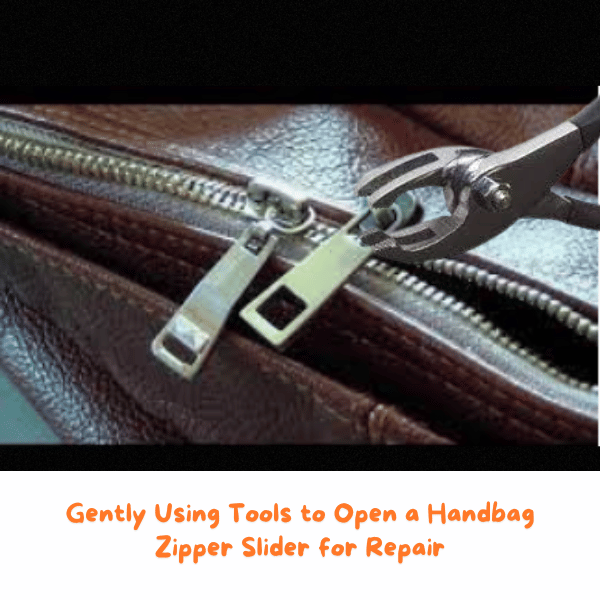
Step 2: Open the Zipper Slider
Using your split joint pliers, gently hold the slider. Insert the flat-head screwdriver into the slider to open it slightly. Be careful not to apply too much pressure, as this can break the slider.
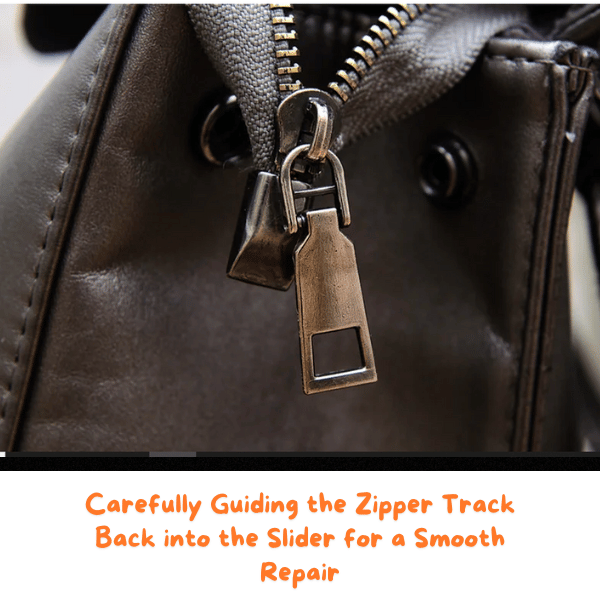
Step 3: Reinsert the Zipper Track
With the slider open, carefully reinsert the zipper track into the slider. Ensure the slider is pushed all the way to the starting position for a secure fit.
Step 4: Apply Pressure
Use your needle-nose pliers to apply gentle pressure to the zipper slider. Test the zipper to ensure it moves smoothly. If needed, apply more pressure carefully to avoid breaking the slider.

Step 5: Test the Fix
Open and close the zipper multiple times to ensure it’s working correctly. Tug gently at the zipper to check if all teeth are securely engaged.

Tightening a Worn Zipper Slider
If your zipper slider isn’t zipping the teeth together properly, it might be worn out. Here’s how to tighten it.
Step 1: Identify the Problem
Check if the opening at the bottom of the slider is wider than it should be. A comparison with a new zipper slider can help you identify this issue.
Step 2: Use Pliers to Tighten
Take your smooth-jawed pliers and gently squeeze each side of the zipper slider. Focus on tightening the back end. Avoid applying too much force at once—tighten gradually and test the zipper in between adjustments.
Step 3: Test the Zipper
After tightening, pull the slider forward and check if the teeth are closing properly. If needed, tighten a bit more until the zipper functions smoothly.
Replacing a Zipper
Sometimes, a zipper is beyond repair and needs a complete replacement. Here’s how to do it.
Step 1: Remove the Old Zipper
Carefully cut away the old zipper using scissors or a seam ripper. Be cautious not to damage the fabric around the zipper.
Step 2: Align the New Zipper
Place the new zipper in position and pin it securely. Ensure it aligns perfectly with the original zipper placement.
Step 3: Sew the Zipper in Place
Using a sewing machine or needle and thread, sew the new zipper into place. Make sure your stitches are even and secure to prevent any further issues.
Step 4: Test the New Zipper
Once the new zipper is sewn in, test it multiple times to ensure it functions smoothly. Adjust if necessary.
Preventive Measures
While knowing how to fix a zipper is valuable, preventing issues in the first place is even better. Here are some preventive measures to keep your handbag zippers in top shape.
Regular Cleaning
Clean your zippers regularly to remove dirt and debris. Use a soft brush or a cloth to gently clean the zipper teeth.
Proper Handling
Avoid yanking or forcing the zipper. Handle it gently to extend its lifespan.
Lubrication
Use a dry lubricant to keep the zipper moving smoothly. Avoid using greasy substances that can attract dirt.
Common Mistakes to Avoid
When repairing zippers, it’s easy to make mistakes that can exacerbate the problem. Here are some common pitfalls to avoid.
Applying Too Much Pressure
Using excessive force can break the zipper slider. Apply pressure gently and incrementally.
Wrong Tools
Using inappropriate tools can damage the zipper further. Stick to the recommended tools for best results.
Ignoring the Root Cause
Fixing the zipper without addressing the underlying cause, like dirt buildup, can lead to repeated issues. Ensure you clean and maintain your zippers regularly.
Wrapping Up
Learning how to fix a handbag zipper can save you time, money, and the heartbreak of discarding a beloved accessory.
Even if it’s a simple separation, a worn slider, or a complete replacement, these steps cover everything you need to know for a successful repair.
Remember, regular maintenance and gentle handling can prevent most zipper issues. But, when problems arise, this guide ensures you have the knowledge and confidence to tackle them head-on.
And if you have any questions or need further assistance, feel free to reach out to our community of handbag enthusiasts. Happy repairing!